
Storm Door Dog Door Installation: A Complete Guide
How to Install a Pet Door in a Storm Door
Complete DIY Guide to Storm Door Pet Door Installation
Step-by-step instructions for installing a pet door into aluminum, vinyl, fiberglass and wood storm doors with glass and/or screen inserts.
⏱️ Estimated Time: 1–2 Hours | 🔧 Difficulty: Moderate | 👤 People Needed: 1
Before You Begin
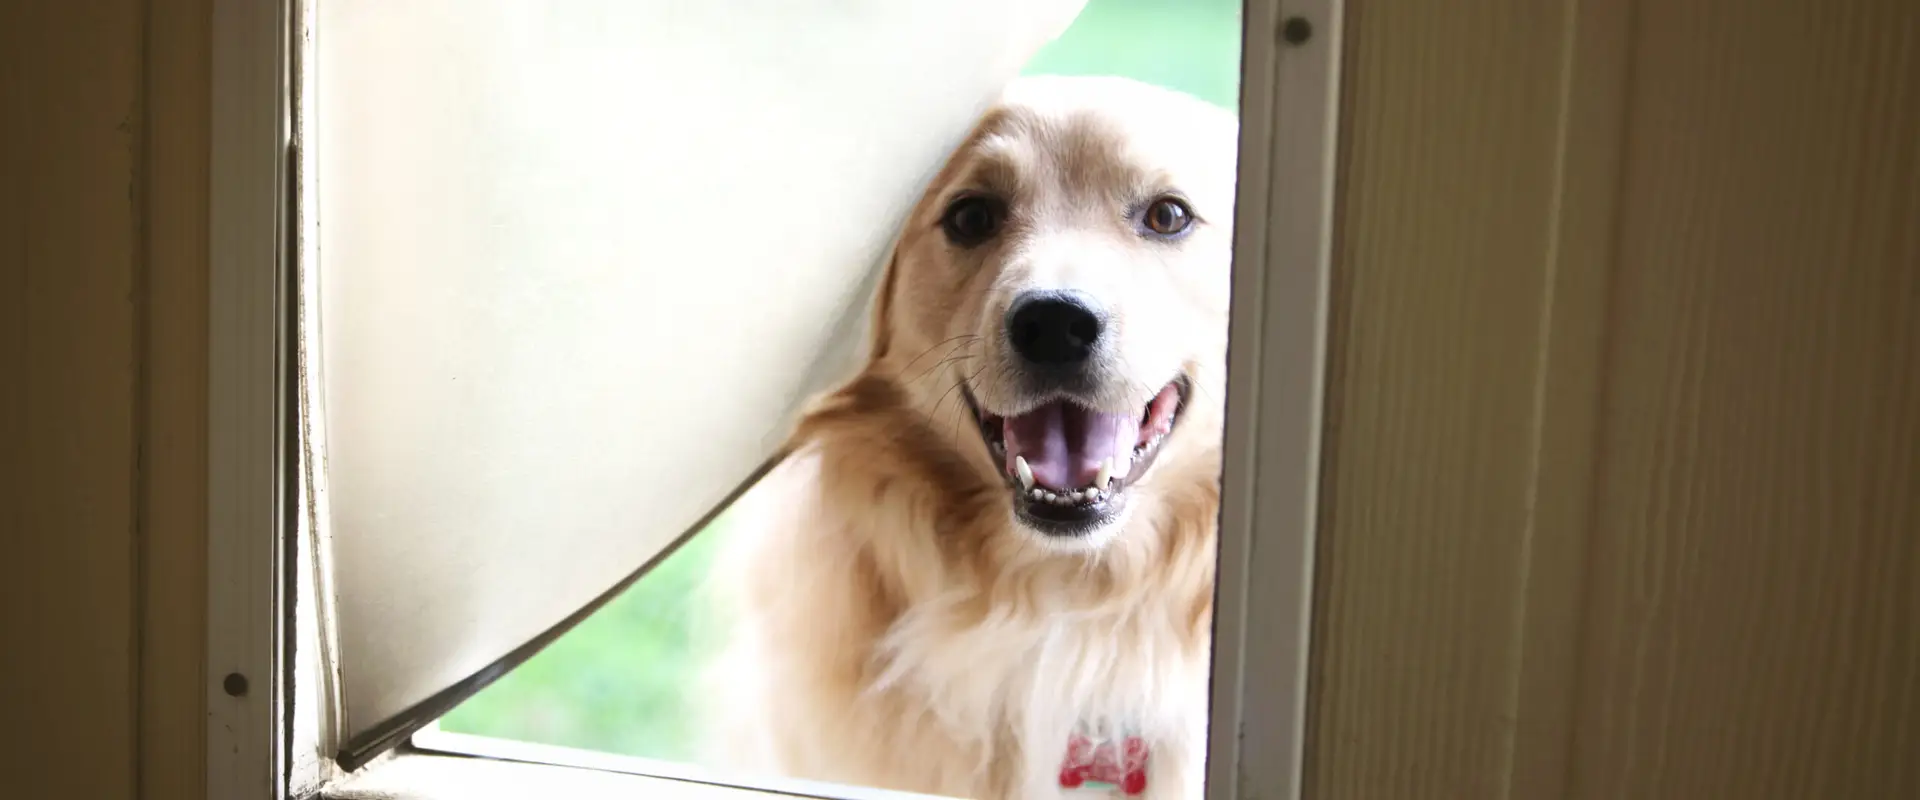
Installing a pet door in a storm door is a practical solution that lets your pet pass through both the storm door and your main exterior door (if the main door also has a pet door or is left open). Storm door pet doors are installed by cutting into the lower panel of the storm door – whether that panel is wood, metal, fiberglass or solid kickplate material.
📋 Things to Consider Before Installation
- Storm Door Construction: Storm doors typically have an aluminum or vinyl frame with interchangeable lower panels (glass insert for winter, screen insert for summer). Some have full-view glass with no separate lower panel.
-
Lower Panel Type: Identify your storm door's lower panel:
- Glass insert panel – removable tempered glass panel in a frame. You can replace this entire panel with a new glazed piece of glass with corner notch removed for the pet door installation.
- Screen insert panel – removable screen in a frame. Can be cut or replaced.
- Fixed kickplate – permanently attached lower panel (aluminum or vinyl). Must be cut in place.
- Full-view glass – one large tempered glass panel covering the entire door. Requires custom glass replacement (see our In-Glass Installation Guide).
- Panel Dimensions: Measure the lower panel's width and height. The pet door must fit within these dimensions with adequate clearance on all sides.
- Storm Door vs. Main Door: A storm door pet door only gets your pet through the storm door. If your main exterior door is closed, you'll need a pet door in that door too – or leave the main door open.
- Weatherproofing: Your storm door is designed to add a layer of weather protection. A pet door in the storm door reduces some of that protection, unless you choose an insulated pet door model. Choose a pet door with good insulation and seal to minimize the impact.
- Warranty: Cutting into a storm door voids its warranty. If the door is new, weigh this against the pet door benefit. Replacing the lower panel (rather than cutting the door frame) may preserve the warranty.
Tools & Materials You'll Need
🔧 Tools
|
📦 Materials
|
Step-by-Step Installation Instructions
Step 1: Measure Your Pet
- Width: Widest point of your pet (chest/shoulders) + 2 inches clearance.
- Height: Floor to shoulder top (withers). The flap opening must be at least this tall, plus 2".
- Step-over: The bottom of the pet door flap should be 3–8 inches above the bottom of the storm door.
Step 2: Remove the Lower Panel (If Removable)
|
Many storm doors have removable lower panels:
|
Step 3: Mark the Cut Line
- Position the pet door cutting template on the panel (or door, if the panel is fixed).
- Center the template horizontally.
- Position vertically for the correct step-over height.
- Use a level to ensure the template is straight.
- Trace the outline with a marker.
- Apply painter's tape along the outside of the traced line to protect the door finish during cutting.
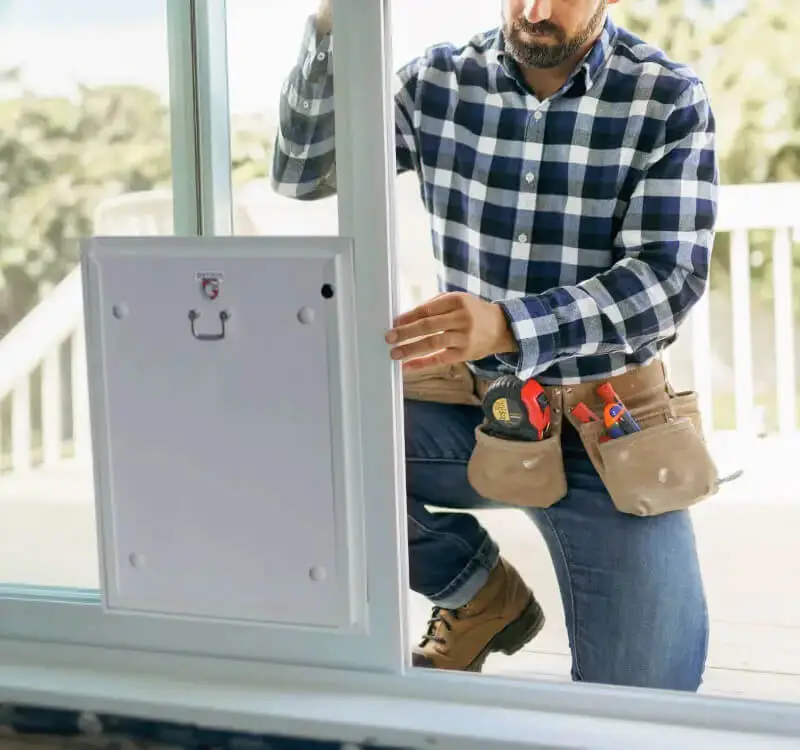
Step 4: Cut the Opening
|
 |
Step 5: Deburr and Finish Cut Edges
- Use a file or sandpaper to smooth all cut edges. Cut aluminum is razor-sharp – wear gloves.
- Remove all metal burrs and filings.
Step 6: Install the Pet Door Frame
- Apply a thin bead of silicone caulk around the cut opening on the exterior side of the panel.
- Position the exterior frame half over the opening.
- From the interior side, position the interior frame half and align all screw holes (if applicable).
- Insert screws and tighten in a star pattern (alternate corners) for even pressure.
- Do not over-tighten – storm door panels are thin and can deform under excessive screw pressure.
- Wipe away any excess caulk that squeezed out.
Step 7: Reinstall the Panel & Test
- If you removed the lower panel, slide it back into the storm door frame channels.
- Re-engage the retainer clips or reinstall the retainer screws.
- Attach the pet door flap and security panel.
- Test the flap for free swing and magnetic closure.
- Open and close the storm door to verify it still operates smoothly with the pet door installed.
- Check the door's closing mechanism (hydraulic closer or chain) – the added weight may require adjustment.
- Train your pet with treats and positive reinforcement.
💡 Tips & Tricks
- Buy a second lower panel: Many storm door manufacturers sell replacement lower panels. Buy a second one, install the pet door in it, and keep the original panel intact. When you want to remove the pet door (selling the home, etc.), simply swap panels.
- Adjust the door closer: The added weight of the pet door may cause the storm door to close too fast or too slowly. Adjust the pneumatic closer tension screw to compensate.
- Do no try to align with main door pet door: If your main exterior door also has a pet door, do no try to align both pet doors at the same height and position. Choose which door you would prefer your pet door to be installed into. This makes it difficult for your pet to pass through both doors in a straight line and could cause injury.
- Use a metal-cutting blade with fine teeth: Fine-tooth blades produce cleaner cuts in thin aluminum with less vibration and deformation.
- Clamp the panel for cutting: Secure the removed panel to sawhorses with clamps. A securely clamped panel is much easier and safer to cut than a loose one.
- Winter vs. summer panels: Install the pet door in the glass panel (winter use). Keep the screen panel unmodified for summer when you might want full ventilation.
⚠️ Common Mistakes to Avoid
- Trying to cut tempered glass: The glass insert in a storm door is tempered. It cannot be cut – it will shatter. Replace the entire glass panel instead with a custom notch for the pet door installation.
- Ignoring cut edge treatment: Bare aluminum edges corrode over time (white oxidation). Always paint or seal cut edges.
- Forgetting the door closer adjustment: A storm door that slams shut because of the added pet door weight can injure your pet. Adjust the closer.
- Installing too large a pet door: Storm door lower panels are smaller than full doors. Verify the pet door fits within the panel with adequate clearance before cutting.
- Not caulking: Water can enter between the pet door frame and the storm door panel, causing corrosion. Caulk all edges, especially around the outside frame.
When to Call a Professional
Storm door pet door installations are a manageable DIY project. Consider professional help if:
- Your storm door has a full-view tempered glass panel (requires custom glass replacement)
- You're not comfortable cutting aluminum with a jigsaw
- The storm door is a multi-point lock model with complex hardware near the cut area
- You want the pet door aligned perfectly with an existing main door pet door
Portal Pros installs storm door pet doors nationwide.
📞 Call 855-DOG-DOOR for a free estimate.
🛒 Shop Storm Door Pet Doors • 📅 Book Professional Installation
Request a Free Storm Door Dog Door Installation Quote
Fill out the form below and a Portal Pros representative will get back to you promptly.