Kennel Dog Door Installation: A Complete Guide
How to Install a Kennel Dog Door
Complete DIY Guide to Kennel & Dog Run Door Installation
Step-by-step instructions for installing pet doors into kennel panels, dog run walls, and outdoor enclosures.
⏱️ Estimated Time: 1–3 Hours Pet Kennel Door | 🔧 Difficulty: Moderate - Difficult | 👤 People Needed: 1–2
Before You Begin
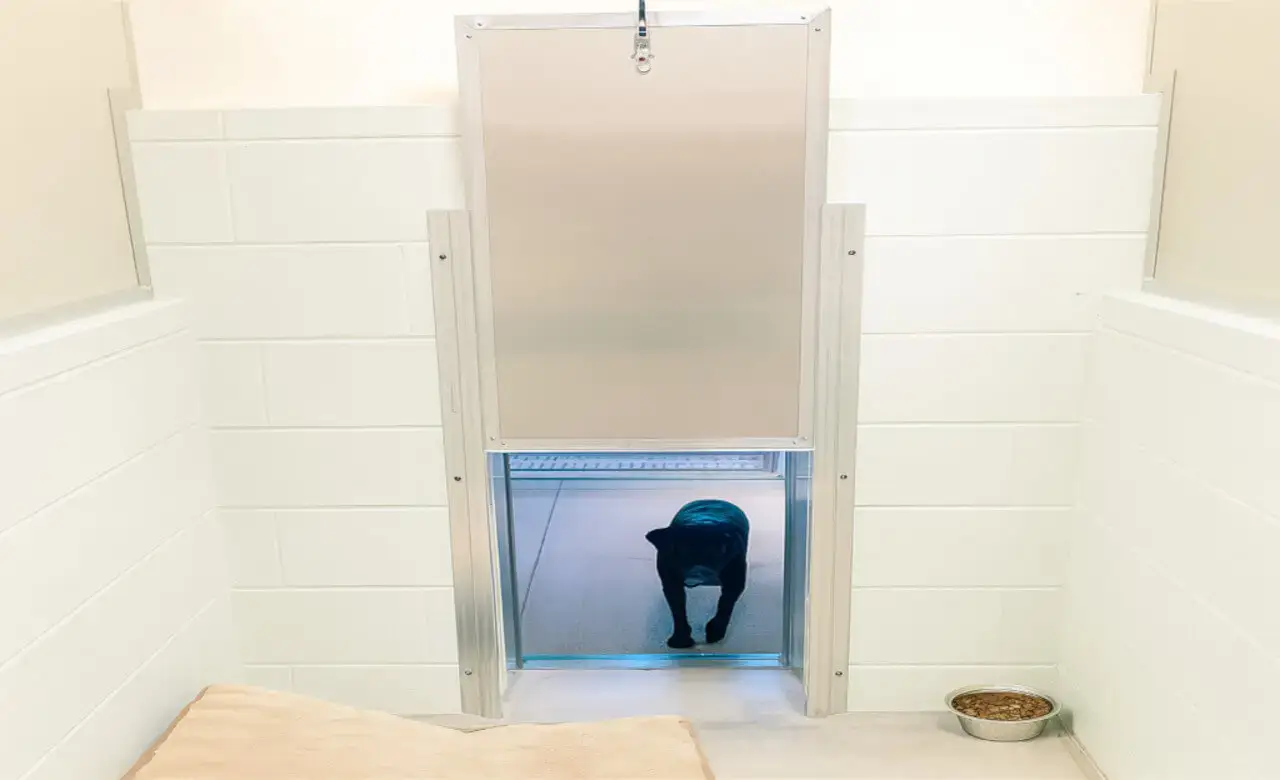
Kennel and dog run pet doors provide dogs with independent access between indoor spaces and outdoor enclosures, runs, and kennel areas. These installations are common for breeders, groomers, boarding facilities, and homeowners with dedicated dog areas. Kennel doors are typically installed through a wall that separates the interior from an outdoor kennel/run, or into a kennel panel itself.
📋 Things to Consider Before Installation
-
Installation Location: Kennel doors are installed in three main locations:
- Through an exterior wall into an outdoor kennel/run (same process as wall-mount installation, but into a kennel area)
- Through a kennel panel/wall (plywood, chain link, metal panel, or block wall)
- Into an interior door leading to a kennel room (same process as door-mount installation)
- Durability Requirements: Kennel environments are demanding. Dogs in kennels may be anxious, excitable, or rough on equipment. Choose commercial-grade pet doors with heavy-duty frames, thick flaps, and reinforced hardware (available at theportalpros.com.
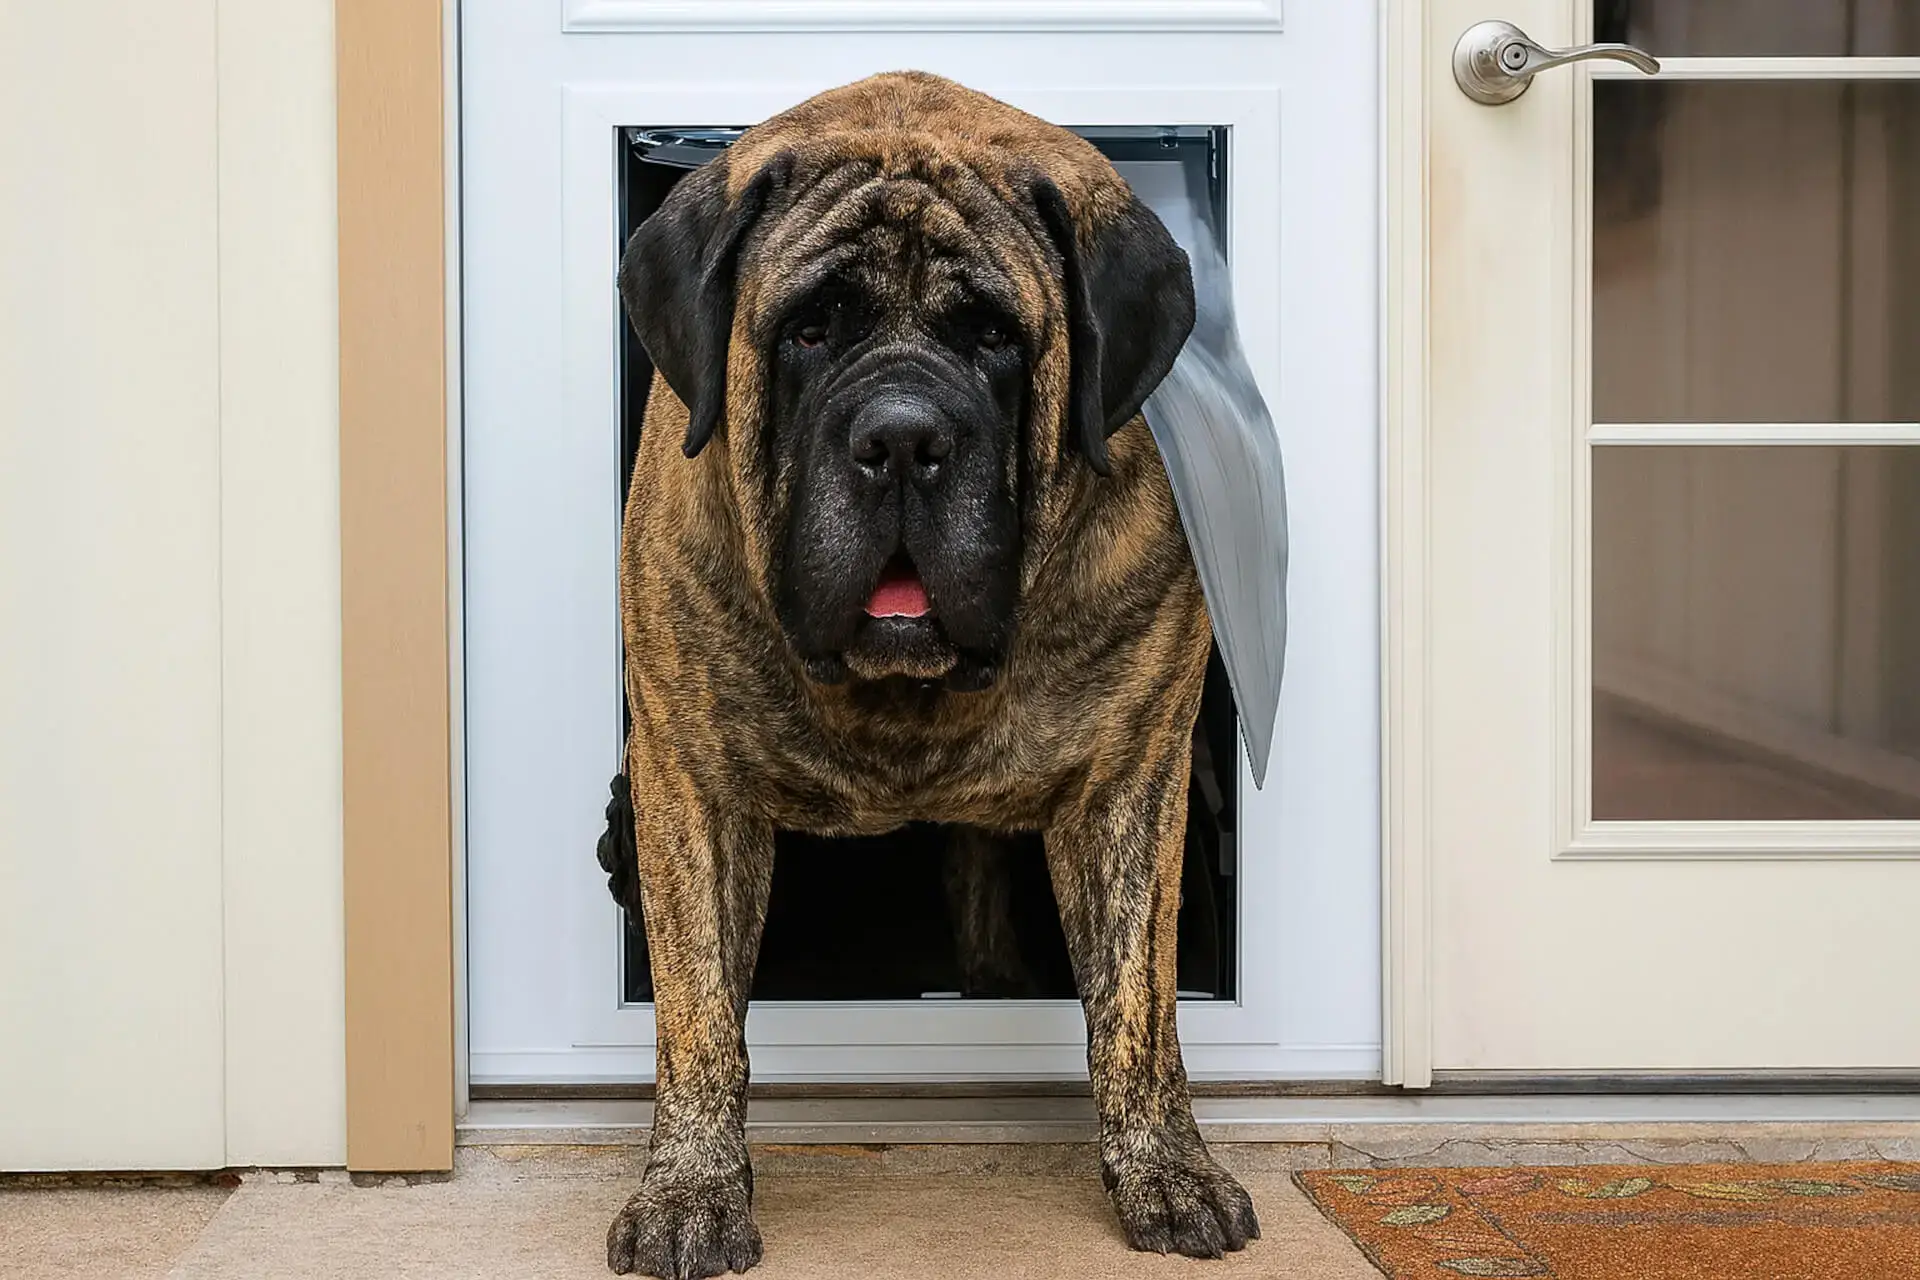
- Multiple Dogs: Size the pet door for your largest dog. All smaller dogs will fit through comfortably.
- Climate Control: Kennel doors connecting indoor (climate-controlled) and outdoor (unconditioned) spaces need excellent insulation. Dual-flap insulated models are essential for temperature management.
- Security & Control: Guillotine-style kennel doors with locking panels let you control when dogs can access the outdoor run. This is essential for feeding time, cleaning, veterinary visits, and overnight security.
- Drainage & Grade: Outdoor kennel areas should slope away from the pet door opening to prevent water from entering. Consider adding a concrete pad or drainage channel in front of the kennel door.
- Building Codes: Commercial kennel facilities may need to comply with local building codes and animal welfare regulations regarding kennel door sizes, materials, and egress requirements. Check with your local animal control office.
- Predator Protection: In rural areas, the kennel door must be lockable to prevent coyotes, raccoons, or other predators from entering the kennel when dogs are inside at night.
Tools & Materials You'll Need
🔧 Tools
|
📦 Materials
|
Step-by-Step Installation Instructions
Step 1: Measure Your Dog(s)
|
|
Step 2: Choose & Prepare the Mounting Location
For Plywood or Wood Kennel Panels:
- Select a panel section with no structural framing obstructions behind it.
- Ensure the panel is at least ¾″ thick for adequate screw/bolt holding strength.
- If the panel is thinner, attach a ¾″ plywood reinforcement backing on one side.
For Chain Link Kennel Runs:
- Build a plywood mounting panel (at least ¾″ exterior-grade plywood) that's 6–8 inches wider and taller than the pet door frame on all sides.
- Frame the plywood panel with 2×4s around the perimeter for rigidity.
- Cut the pet door opening in the plywood panel before mounting it to the chain link.
- Attach the plywood panel to the chain link frame posts using carriage bolts, U-bolts, or pipe clamps.
For Exterior Wall Installations:
- Follow our Wall-Mount Installation Guide for the wall-cutting process. The kennel door itself installs the same way.
Step 3: Mark & Cut the Opening
|
 |
Step 4: Install the Kennel Door Frame
- Apply silicone caulk around the cut opening on one side.
- Position the exterior frame half over the opening.
- From the other side, position the interior frame half and align all holes.
- For kennel installations, use carriage bolts instead of screws. Bolts are much harder for dogs to chew or work loose.
- Insert carriage bolts from the dog-accessible side (the square-shouldered head sits flush and can't be gripped).
- Add washers and nuts on the opposite side. Tighten firmly.
- For extra security, apply thread-locking compound (like Loctite) to the bolt threads before tightening nuts.
Step 5: Install the Guillotine/Locking Panel & Flap
- Most kennel doors use a guillotine-style locking panel that slides down to close the opening. Install the guide tracks on both sides of the frame.
- Insert the guillotine panel into the tracks and verify it slides freely up and down.
- Install the Eye Bolt directly above the panel on the wall, with enough clearance so the guillotine panel does not hit this eye bolt, and then attach another eye bolt in the ceiling that will guide the cable to the exterior of the kennel run for easy pulley system operation.
- If the kennel door also has a 3-sided or 4-sided Kennel Door flap (for insulation when the guillotine is open), attach it to the exterior or interior frame.
- Test all mechanisms: flap swing, guillotine slide, and lock engagement (if applicable).
Step 6: Prepare the Exterior Landing
 |
|
Step 7: Test & Monitor
- Allow each dog to explore the new door individually. Supervise the first uses.
- Verify the guillotine panel locks securely (if applicable). Test from both sides to ensure a determined dog or intruder can't force it open.
- Check for daylight or air gaps around the frame. Caulk or seal as needed.
- After one week of use, re-tighten all bolts and check for any loosening, warping, or damage.
💡 Tips & Tricks
- Use carriage bolts everywhere: In kennel environments, screws eventually work loose from vibration and dog activity. Carriage bolts with lock washers and thread-locking compound are significantly more durable.
- Double-flap for climate control: If the kennel connects a heated indoor space to an outdoor run, choose a double-flap insulated kennel door for use with the guillotine doors. The air gap between flaps provides meaningful insulation.
- Paint or stain all wood surfaces: Any exposed wood in a kennel environment will absorb moisture and develop odors. Seal all wood surfaces with exterior paint or water-seal.
- Run a drain channel: In high-rainfall areas, install a channel drain across the front of the kennel door to intercept water before it reaches the opening.
- Reinforce the surrounding wall: Dogs running through a kennel door at full speed create impact forces. Reinforce the wall/panel on both sides of the pet door with extra framing or plywood backing.
- Add a canopy: Install a small roof overhang or awning above the exterior side of the kennel door to keep rain from driving directly into the opening.
⚠️ Common Mistakes to Avoid
- Using screws instead of bolts: Screws in kennel environments work loose within months. Always bolt kennel door frames with carriage bolts.
- Ignoring drainage: Water pooling at the kennel door base causes rot, corrosion, mud, and sanitation issues. Ensure proper drainage slope.
- Undersized dog door: Kennel dogs are often energetic and may hit the pet door at speed. An undersized door leads to impact damage and dog injury. Size generously.
- Skipping the locking mechanism: An unlockable kennel door means you can never fully secure the kennel. Locking guillotine panels are essential for safe kennel management.
- Installing in thin or weak panels: A pet door in a flimsy panel will warp, sag, and eventually fail. Reinforce with plywood if needed.
- Not monitoring the first week: Check the installation daily during the first week. Dogs test boundaries and hardware may need re-tightening after initial use.
When to Call a Professional
Kennel door installations vary widely in complexity. Consider professional help if:
- You need to cut through a concrete, block, or masonry kennel wall
- The installation requires electrical work (for heated kennel doors or sensors)
- You're building a commercial kennel that must meet animal welfare codes
- Multiple kennel doors need to be installed and aligned
- You want the doors integrated with an automated kennel management system
Portal Pros installs kennel dog doors for residential and commercial facilities.
📞 Call 855-DOG-DOOR for a free estimate.
🛒 Shop Kennel Dog Doors • 📅 Book Professional Installation
Request a Free Kennel Dog Door Installation Quote
Fill out the form below and a Portal Pros representative will get back to you promptly.