Window Dog Door Installation: A Complete Guide
Request a Free Pet Door Installation Quote
Fill out the form below and a Portal Pros representative will get back to you promptly.
How to Install a Pet Door in a Window
Complete DIY Guide to Window-Insert Pet Door Installation
Step-by-step instructions for installing a pet door sash insert in single-hung, double-hung, and sliding windows.
⏱️ Estimated Time: 30–90 Minutes | 🔧 Difficulty: Easy to Moderate | 👤 People Needed: 1
Before You Begin
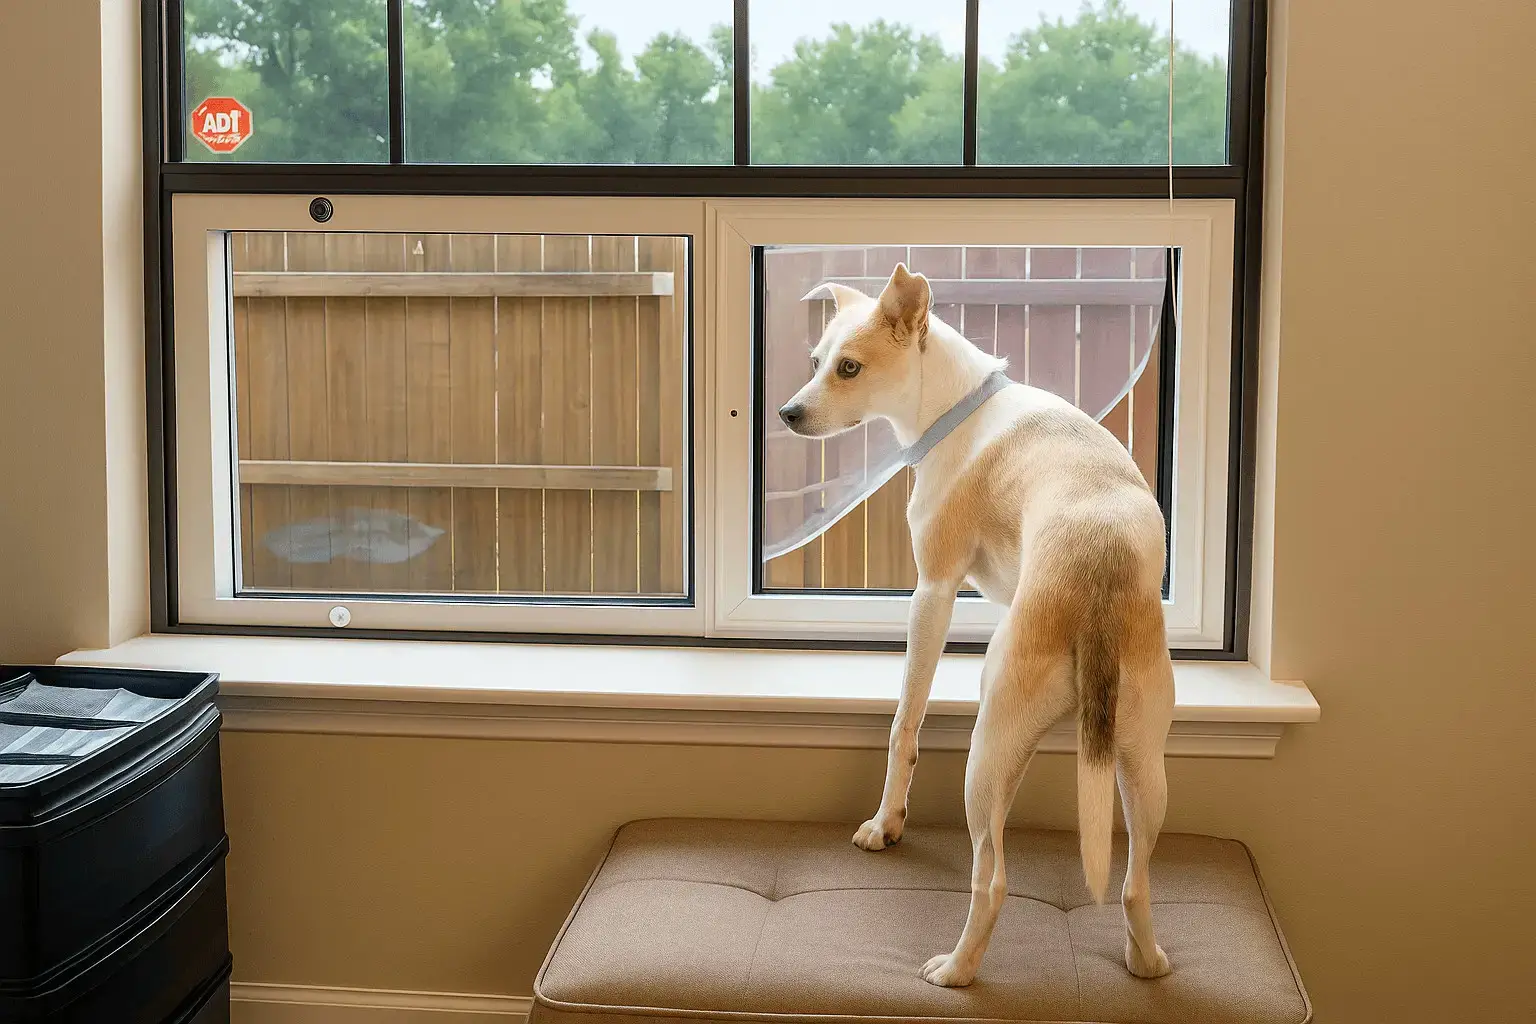
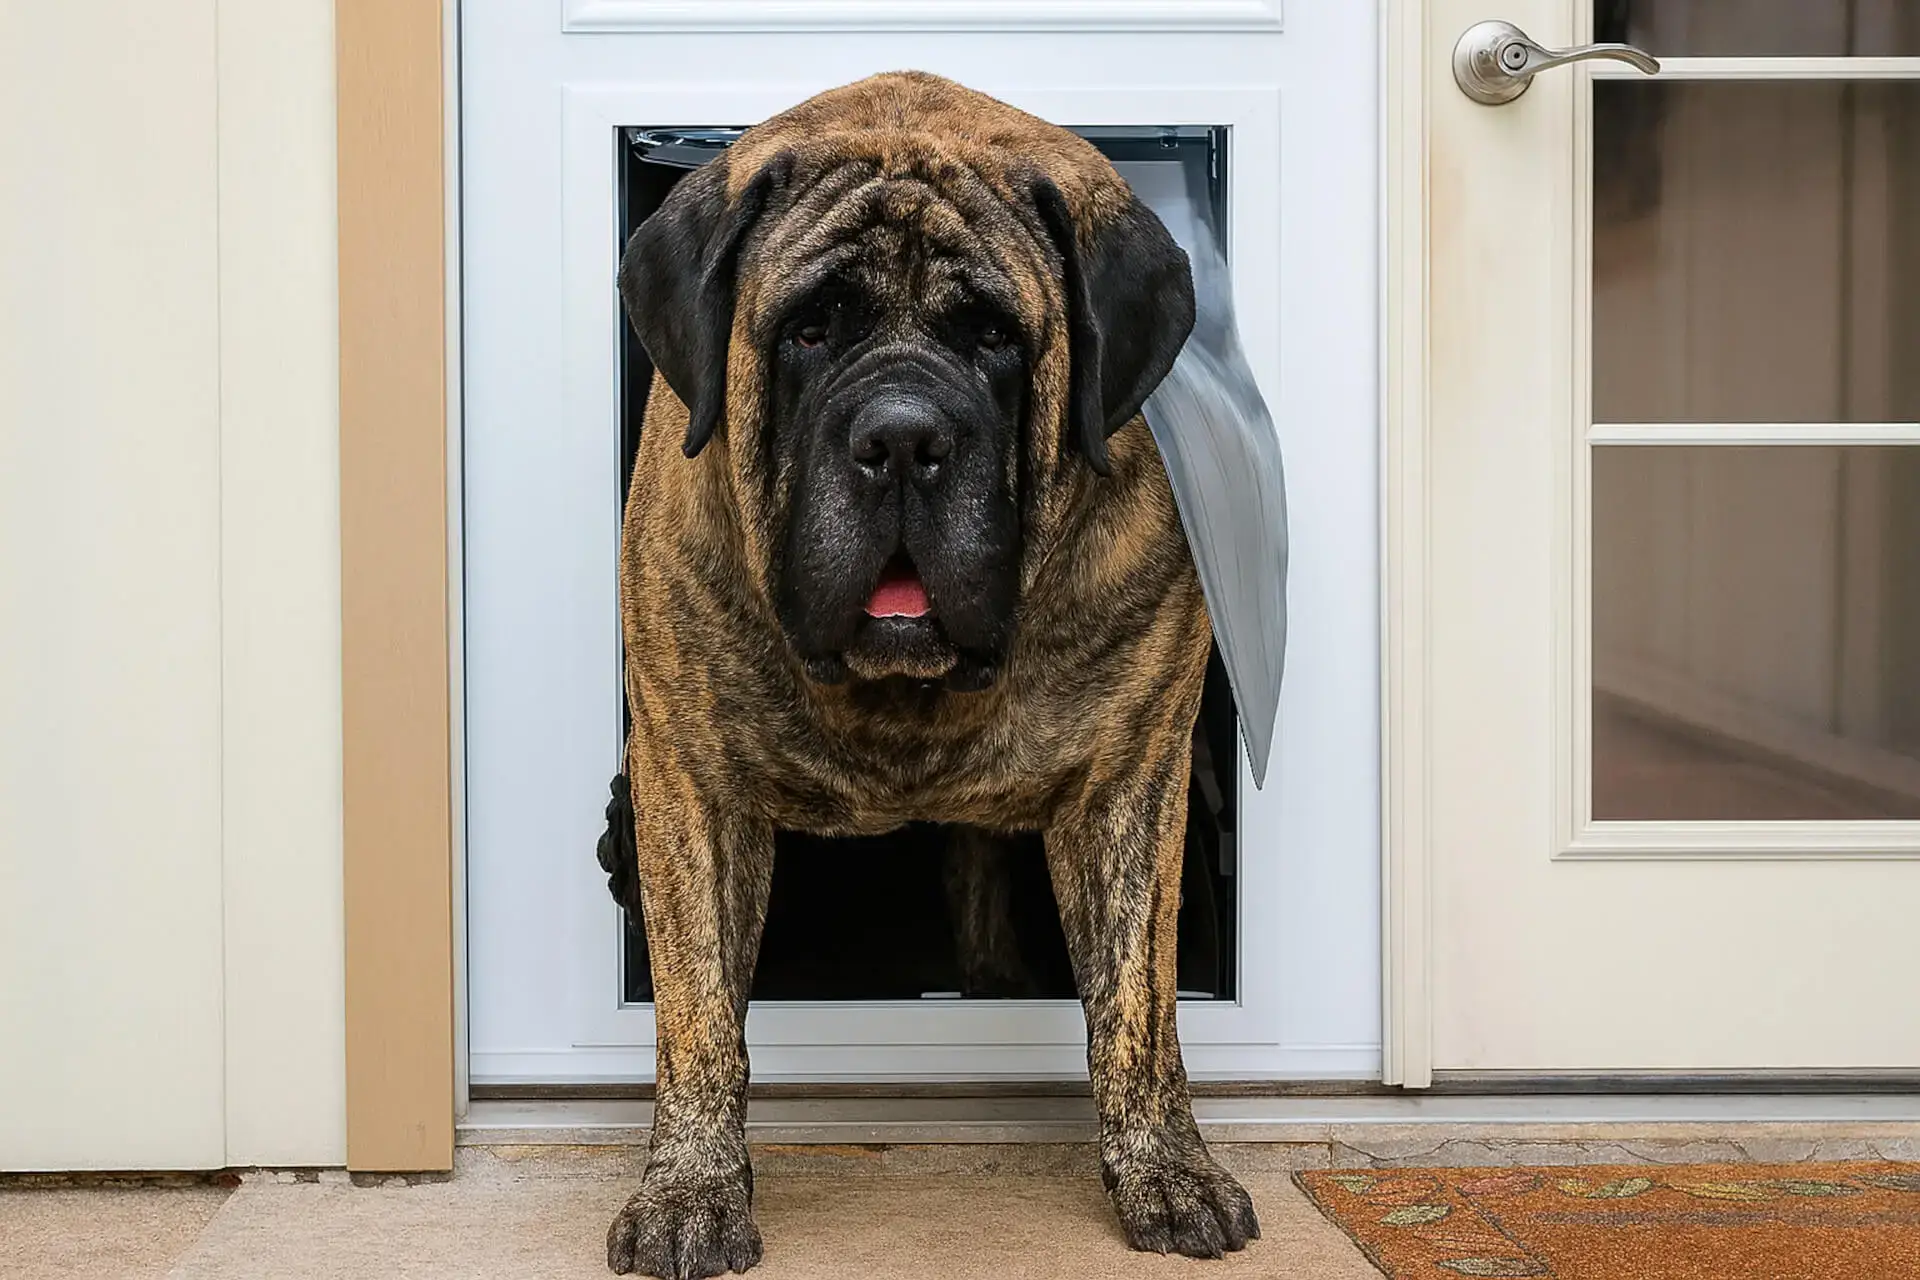
A window-insert pet door is a panel that fits into an open window sash, similar to how a window air conditioner is installed. The window holds the panel in place, and the pet door flap provides pet access through the window opening. This is an excellent option for cats, small to large dogs, and toy breeds – and it requires no permanent modifications to your home.
📋 Things to Consider Before Installation
- Window Type: Window pet doors work best with single-hung and double-hung windows (vertical sliding sashes). Some models also fit horizontal sliding windows. Casement (crank-out) windows are generally not compatible.
- Window Height from Floor: The bottom of the window sill should be close to floor level – or at a height your pet can comfortably reach. Most window pet doors are designed for windows with sills 0–44 inches above the floor. High windows may need an interior ramp, step or stairs.
- Pet Size: Window pet doors typically accommodate cats and small to large dogs (up to about 40–70 lbs). The window opening width limits the maximum pet door size.
- Window Width: Measure your window opening width. The pet door panel must fit within this width. Most window pet doors are adjustable with side filler panels.
- Security: The window remains partially open with the pet door installed. Quality models include locking mechanisms and reinforced frames to maintain security.
- Weather: Window-insert pet doors are more exposed to wind and rain than other pet door types. Choose a model with good weatherstripping and consider your climate.
- Exterior Landing: Your pet needs a safe way to get from the window to the ground outside. Consider the drop height and whether you need to add a ramp, landing platform, or steps outside the window.
- Rental-Friendly: Window-insert pet doors are completely removable with no permanent modifications. Close the window and it's as if the pet door was never there.
Tools & Materials You'll Need
🔧 Tools
|
📦 Materials
|
Step-by-Step Installation Instructions
Step 1: Measure Your Window
|
|
Step 2: Measure Your Pet
- Width: Measure the widest point of your pet (chest/shoulders). Add 2 inches.
- Height: Measure floor to shoulder top. The flap must be at least this tall plus 2".
- Sill clearance: Your pet must be able to step up onto the window sill and through the pet door. If the sill is high, plan for an interior step or ramp.
- Window pet doors typically max out at large dogs (around 40–70 lbs). For extra large dogs, consider a door-mount or wall-mount installation instead.
Step 3: Prepare the Window
- Clean the window sill, tracks, and frame surfaces.
- Open the window sash to the height needed to accommodate the pet door panel.
- Remove the window screen from the lower sash. Store it safely for future reinstallation.
- Verify the window sash locks and slides smoothly.
Step 4: Assemble the Pet Door Panel
|
 |
Step 5: Install the Panel in the Window
- Set the assembled panel into the window opening, resting it on the window sill.
- Center the panel in the opening. The side filler panels should press snugly against both window frame tracks.
- Lower the window sash down onto the top edge of the pet door panel. The sash should press firmly against the weatherstripping on top of the panel.
- The weight of the window sash holds the panel in place.
Step 6: Secure the Installation
- Install the window security lock or screw provided with the kit. This goes through the window frame into the sash track, preventing the window from being pushed up from outside.
- Alternatively, install a window security pin through the sash into the frame to lock the window at the pet door height.
- If your kit includes side panel security screws, drive them through the side fillers into the window frame to prevent the panel from being pushed inward, or use a brace bar to completely secure the opening.
- Verify the entire assembly is firm and cannot be rattled loose.
Step 7: Add Exterior Access (If Needed)
 |
If the window is above ground level on the exterior:
|
Step 8: Test & Train Your Pet
- Verify the pet door flap swings freely and closes securely.
- Check for drafts around the panel edges. Add weatherstripping where needed.
- Encourage your pet to explore the pet door with treats. You may need to lift them onto the sill the first few times.
- Supervise your pet's first few trips through the window to ensure they navigate the exterior safely.
💡 Tips & Tricks
- Add a step stool inside: Place a sturdy step or pet ramp below the window on the interior side. This helps pets – especially older animals – reach the window sill comfortably.
- Insulate the filler panels: If your kit's side fillers are thin plastic, replace them with foam board insulation panels cut to size. This dramatically improves energy efficiency.
- Paint the filler panels: Paint the side filler panels to match your window trim for a clean, built-in appearance.
- Use a window lock alarm: For extra security, install a window alarm sensor that alerts you if the window is pushed open beyond the pet door position.
- Seasonal removal: Window pet doors can be removed in winter and reinstalled in warmer months. Simply raise the window sash, remove the panel, close the window, and reinstall the screen.
- Night closure: Most window pet doors include a flap cover or locking panel. Close it at night to prevent drafts and uninvited wildlife from entering.
- Cats love window pet doors: Window-insert pet doors are the most popular option for cat owners. Cats naturally gravitate to window-height access.
⚠️ Common Mistakes to Avoid
- Skipping the window lock: Without a lock pin, or brace bar, the window can be pushed up from outside, compromising security. Always install the security lock or a brace bar.
- Ignoring the exterior drop: A pet jumping from a high window can be injured. Always assess the exterior height and add a landing platform if needed.
- Forcing the panel into the tracks: If the panel is too wide, trim the filler panels – don't force it. Forcing can damage the window frame or tracks.
- Choosing a window with no exterior access: Make sure the exterior below the window is safe – no thorny bushes, AC units, or sloped surfaces that make pet access difficult.
- Forgetting weather exposure: Window pet doors are more exposed to rain than wall or door-mount options. Ensure the model you choose has good water-shedding design.
When to Call a Professional
Window pet door installations are generally DIY-friendly, but consider professional help if:
- You need to build an exterior landing platform or ramp
- Your window type is non-standard (casement, awning, or fixed)
- You want to permanently modify the window frame for a built-in pet door
- The window is above the first floor and requires fall-protection considerations
Portal Pros installs window pet doors nationwide.
📞 Call 855-DOG-DOOR for a free estimate.
🛒 Shop Window Pet Doors • 📅 Book Professional Installation