Patio Dog Door Installation: A Complete Guide
How to Install a Dog Door in a Sliding Patio Door
Complete DIY Guide to Patio Door Pet Panel Installation
Step-by-step instructions for installing a pet door panel insert into sliding glass patio doors – no cutting required.
⏱️ Estimated Time: 30–60 Minutes | 🔧 Difficulty: Easy | 👤 People Needed: 1–2
Before You Begin
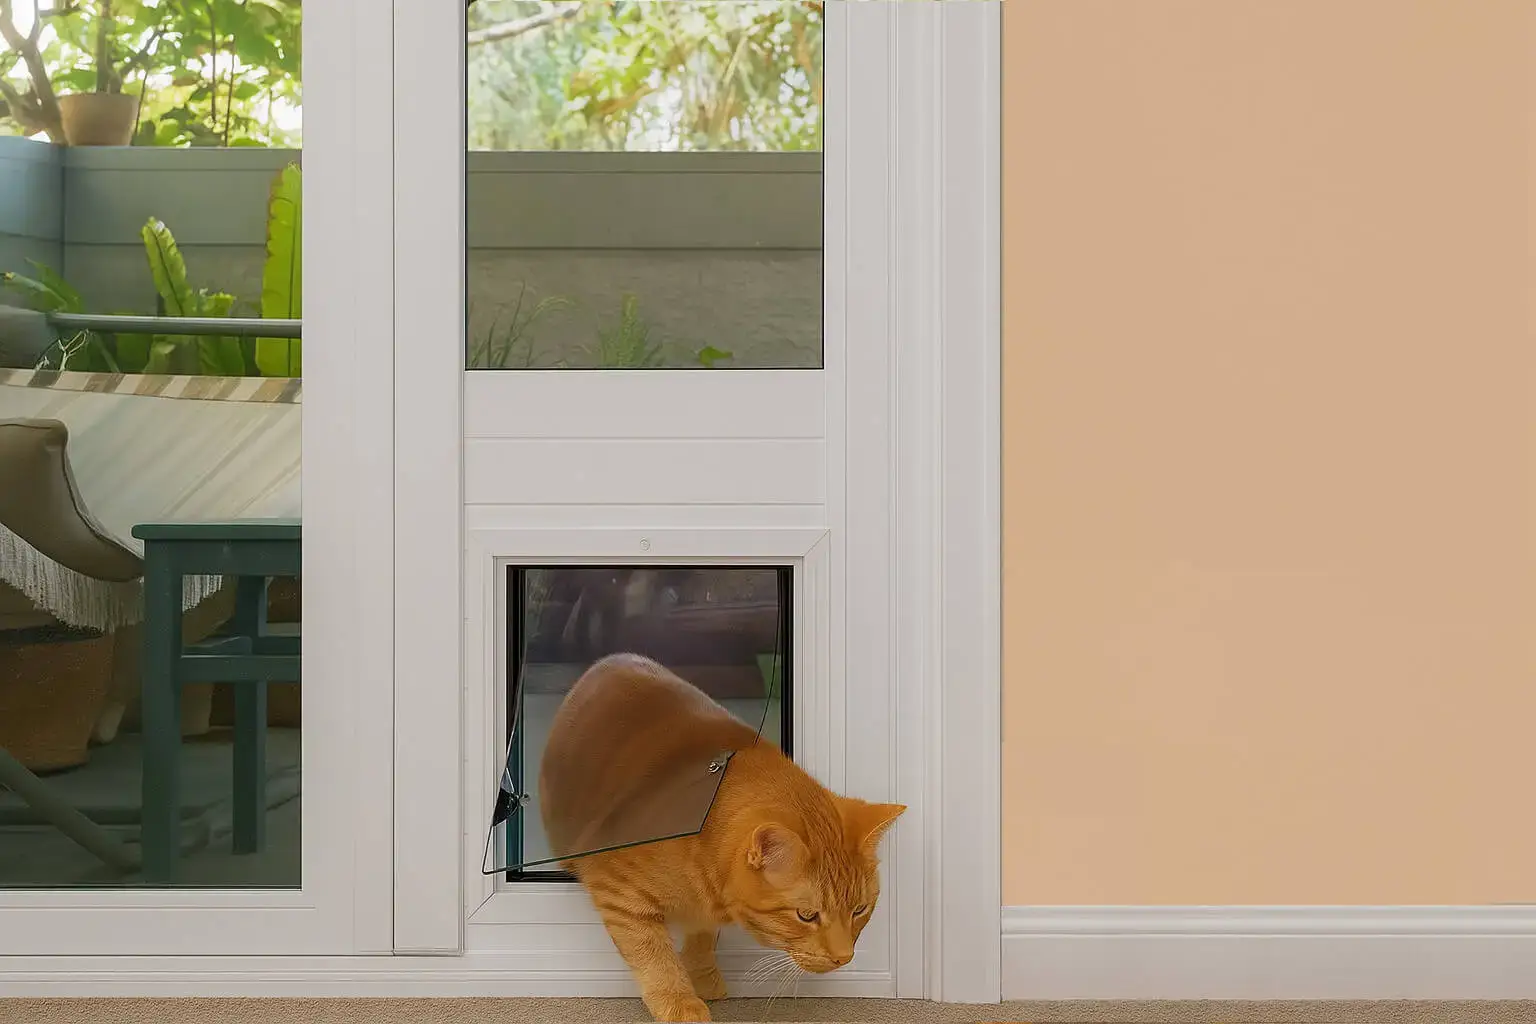
Sliding patio door pet panels are the easiest pet door to install – and the only option that requires zero cutting or permanent modifications. This makes it a great choice for renters who would like a pet door installed without permanent modifications. The panel slides into the existing patio door track alongside your glass door, creating a dedicated pet entrance. This makes patio panels the #1 choice for renters, condo owners, and anyone who doesn't want to cut into doors or walls.
📋 Things to Consider Before Installation
- Door Track Configuration: Determine whether your sliding door slides left-to-right or right-to-left. Patio panels are installed in the sliding door side of the track (opposite the fixed panel). Some models are adjustable for either side.
- Track Height: Measure the height of your patio door track opening (from the very bottom inside track to the very top inside track that your patio door slides on. Patio panels are adjustable within a height range – verify your measurement falls within the panel's specs.
- Track Width: Measure the width of the door track channel. Most standard patio doors have 1/4″ or 3/4″ tracks. Confirm compatibility with the panel you purchase.
- Door Clearance: When the panel is installed, your sliding glass door's opening width will be reduced by the panel's width (typically 8–24" depending on pet door size).
- Pet Size: Measure your pet as described below. Patio panels come in various flap sizes to accommodate cats through extra-large dogs.
- Glass Type: Better patio panels use tempered safety glass in the panel above the pet door flap. Standard glass panels are cheaper but less safe and less insulating.
- Security: The panel reduces the "lockable" length of your patio door track. Quality panels include a secondary lock or security bar to prevent the door from being forced open.
- Rental-Friendly: Patio panels remove cleanly with no trace. Save the original track filler strip (if any) for when you move out.
Tools & Materials You'll Need
🔧 Tools
|
📦 Materials
|
Step-by-Step Installation Instructions
Step 1: Measure Your Patio Door Track
|
Take these three critical measurements:
Write down all measurements. Order a panel rated for your track height – most have adjustable height ranges (e.g., 75″–80″, 80″–86″, etc.). |
Step 2: Measure Your Pet
- Width: Measure the widest part of your pet (chest/shoulders). Add 2 inches.
- Height: Measure from the floor to the top of your pet's shoulders. The flap opening must be at least this tall plus 2" to avoid rubbing.
- Step-over: The bottom of the flap should be no higher than 8" and most times you can determine the best rise by taking your pet's shoulder height and dividing by 1/3.
Step 3: Clean the Track
- Vacuum or sweep all debris from the patio door track – both top and bottom channels.
- Wipe the track channels with rubbing alcohol on a clean cloth to remove grease and grime.
- Ensure the track is completely dry before proceeding.
- Test that the existing sliding door moves freely in its track. Address any track issues before adding the panel.
Step 4: Adjust the Panel Height
|
Step 5: Insert the Panel into the Track
- Open your sliding glass door fully to expose the channel or track.
- Tilt the top of the panel into the upper track channel first.
- Swing the bottom of the panel into the lower track channel.
- The panel should stand upright in the track. Slide it snugly against the wall or door jamb on the sliding or fixed side.
- If needed, a second person can help steady the panel while you guide it into position. Tempered glass panels are heavy – handle with care.
Step 6: Secure the Panel
- Most panels include top-mounted thumbscrew that are on the interior side of the panel. This will prevent the panel from being lifted out, from the outside.
- Apply the adhesive weatherstripping along the edge where the panel meets the sliding glass door. This seals the gap between the two panels and prevents drafts.
- Close your sliding glass door against the panel. It should close snugly with the rubber or fom weatherstripping creating a seal.
Step 7: Install the Security Bar
|
Step 8: Test & Train Your Pet
- Verify the pet door flap swings freely and returns to the closed position.
- Check for drafts around the panel edges. Add weatherstripping to any gaps.
- Encourage your pet to use the door with treats – hold the flap open at first.
- Ensure the sliding glass door still opens, closes, and locks properly with the panel in place.
💡 Tips & Tricks
- Measure the track height at multiple points: Patio door tracks can settle unevenly. Measure at the left, center, and right – use the smallest measurement for ordering.
- Have a helper for glass panels: Tempered glass patio panels can weigh 30–50+ lbs. A second person makes insertion much safer.
- Weatherstrip both sides: Apply weatherstripping where the panel meets the sliding door AND where it meets the wall/jamb for maximum draft protection.
- Lubricate the track: A thin coat of silicone spray lubricant on the bottom track helps the sliding door glide smoothly against the panel.
- Adjust roller height: If the panel sits too low or too high, most have roller adjustments on the bottom. Turn the adjustment screw to raise or lower the panel.
- Remove for cleaning: Patio panels can be removed for deep cleaning – reverse the installation steps. Clean the track quarterly for best performance.
⚠️ Common Mistakes to Avoid
- Wrong track height measurement: Measuring from floor to ceiling instead of from the bottom track to the top track interior channel. These are different measurements.
- Choosing the wrong side: Installing the panel on the fixed side instead of the sliding side may prevent the door from operating properly. Most times these patio pet door inserts can be installed into either side.
- Skipping the security bar: Without a security bar, the sliding door can be pushed open from outside. Always secure the track.
- Over-tightening the height adjustment: Forcing the panel height too tight against the tracks makes it impossible to remove and can crack the frame.
- Forgetting weatherstripping: The gap between the panel and sliding door is a major source of drafts if not sealed.
When to Call a Professional
Patio panel installations are the simplest pet door project, but consider professional help if:
- Your patio door has a non-standard track size or configuration
- The panel is very heavy (large pet doors with thick tempered glass)
- Your track is damaged, warped, or won't accommodate the panel
- You have a multi-panel or French-style patio door that requires custom fitting
Portal Pros installs patio door pet panels nationwide.
📞 Call 855-DOG-DOOR for a free estimate.
🛒 Shop Patio Door Pet Panels • 📅 Book Professional Installation
Request a Free Patio Pet Door Installation Quote
Fill out the form below and a Portal Pros representative will get back to you promptly.