Wall Mount Dog Door Installation: A Complete Guide
How to Install a Pet Door Through a Wall
Complete DIY Guide to Wall-Mount Pet Door Installation
Step-by-step instructions for installing a pet door through drywall, brick, stucco, vinyl siding, and frame walls.
⏱️ Estimated Time: 2–8 Hours | 🔧 Difficulty: Advanced | 👤 People Needed: 1–2
Before You Begin
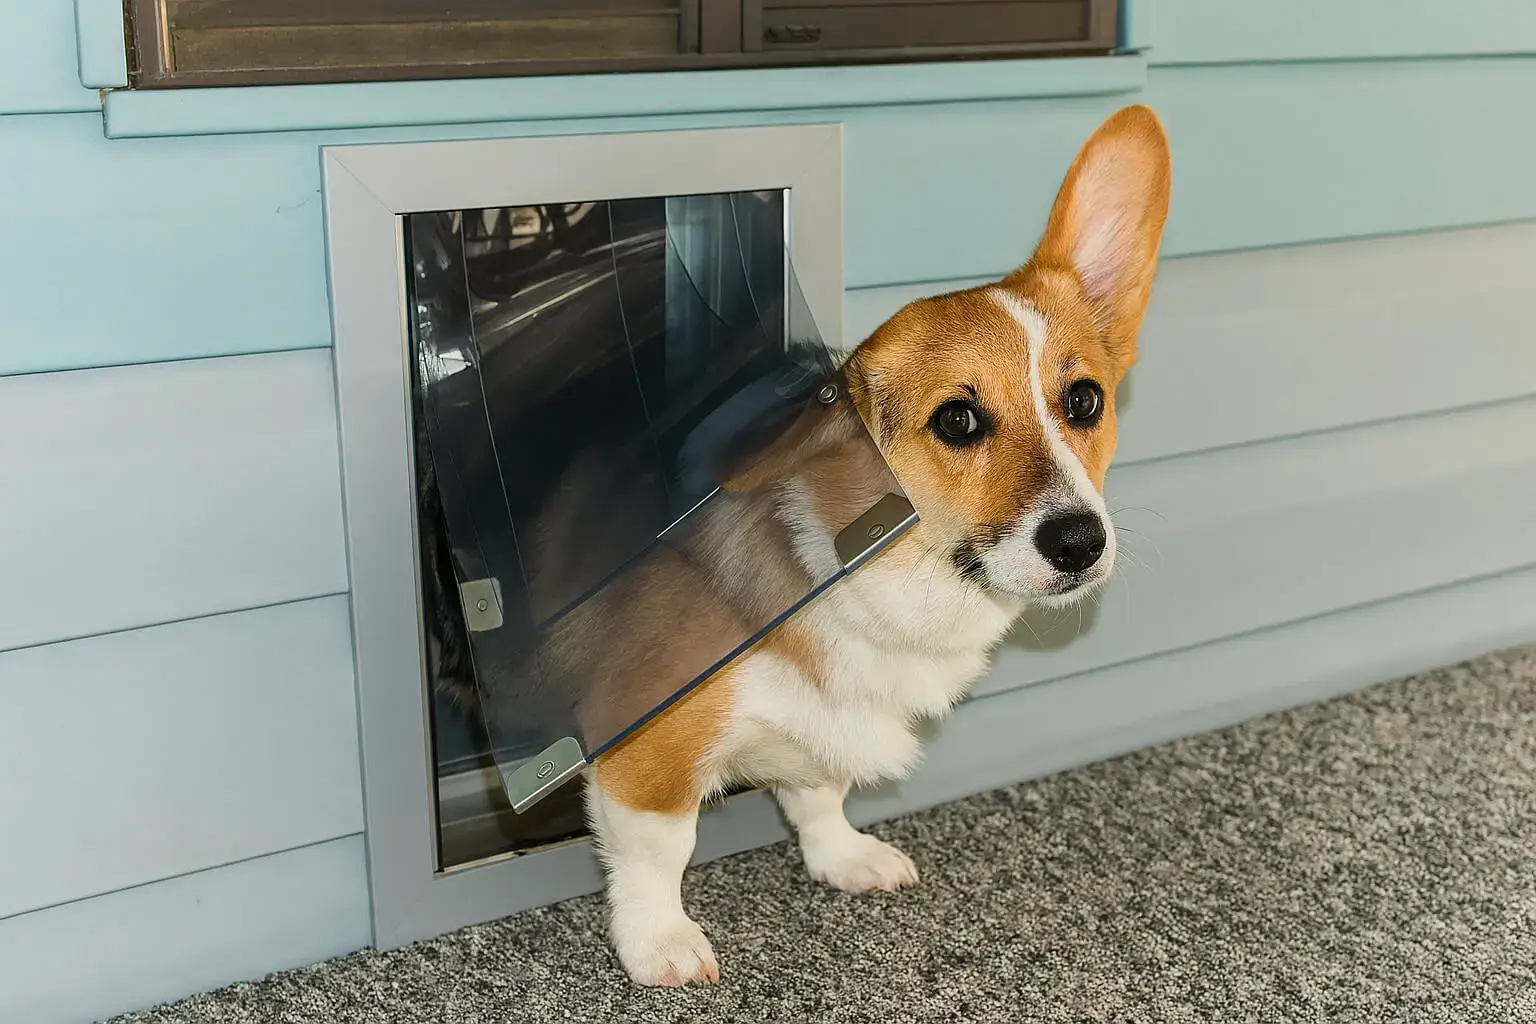
Installing a pet door through a wall is one of the most versatile pet access solutions. It's ideal when you can't – or don't want to – cut into an exterior door. Through-wall installations require more planning and effort than door-mount projects because you're cutting through multiple layers of construction material, but the result is a permanent, clean, and highly functional pet entrance.
📋 Things to Consider Before Installation
- Wall Construction: Identify your wall type: wood frame with drywall, brick veneer over wood frame, solid masonry (CMU/cinder block), stucco over frame, or vinyl/fiber cement siding. Each requires different cutting tools and techniques.
- Wall Thickness: Measure your wall thickness including interior drywall, framing, insulation, sheathing, and exterior cladding. Most wall pet doors accommodate walls from 4¾″ to 12″+ thick with included tunnel extensions or one solid tunnel.
- Stud Location: You MUST locate wall studs before cutting. The opening should fit between studs (typically 14½″ clear space in 16″ on-center framing). You may need to reframe if studs are in the way.
- Electrical & Plumbing: Check for electrical wires, plumbing pipes, HVAC ducts, and gas lines inside the wall. Use a stud finder with wire detection or inspect from the attic/basement first.
- Foundation vs. Framed Wall: Cutting through a concrete foundation wall is a completely different project requiring a concrete saw. This guide covers framed walls only.
- Insulation: You'll be removing insulation from the wall cavity in the cut area. The pet door tunnel system replaces this insulation – choose a pet door with an insulated one piece tunnel (like the MaxSeal™ PRO and MaxSeal Wall Mount Pet Door).
- Weatherproofing: Wall penetrations are more exposed to water intrusion than door installations. Proper flashing, weather sealing and caulking are critical.
- Building Codes: Some municipalities require permits for exterior wall penetrations. Check your local building department before starting.
- Structural Integrity: Never cut through a load-bearing header, structural post, or engineered beam. If you're unsure whether your wall is load-bearing, consult a contractor.
Tools & Materials You'll Need
🔧 Tools
|
📦 Materials
|
Step-by-Step Installation Instructions
Step 1: Measure Your Pet & Select Location
 |
Measure your pet from floor to shoulder top (withers) and across the widest point (chest). Add 2 inches to each measurement for comfortable clearance. Choose your wall location:
|
Step 2: Locate Studs & Utilities
- Use a stud finder to locate and mark all studs in your target area on the interior drywall.
- Scan for electrical wires and plumbing. Most stud finders with AC wire detection will alert you to live wires.
- Check from the attic (if accessible) to verify no wiring runs down through the wall cavity you plan to cut.
- Check from the basement or crawl space for plumbing runs.
- Mark stud locations clearly with painter's tape or pencil on both sides of the wall.
- The pet door opening should fit between two studs. Standard 16″ on-center framing provides about 14½″ of clear space. Most pet door sizes are designed to fit between studs, but in some cases you will need to cut into a stud.
Step 3: Mark & Cut the Interior Opening
|
|
Step 4: Frame the Opening (If Needed)
- If the opening is shorter than the full stud bay height, you may need to add a horizontal header (top) and sill (bottom) between the studs.
- Cut 2×4 blocks to fit snugly between the studs at the top and bottom of the opening.
- Toenail or screw the blocks into the studs to create a framed box for the pet door tunnel.
- The framed opening should match the rough opening size specified by your pet door manufacturer.
Step 5: Transfer Measurements & Cut the Exterior
- From inside, drill a small pilot hole through each corner of the framed opening, going all the way through the exterior wall.
- Go outside and locate the four pilot holes.
- Connect the holes with a straight line using a level and pencil.
- For wood and vinyl siding: Set your circular saw to the siding depth and cut along the lines. Use a reciprocating saw for corners.
- For brick veneer: Use an angle grinder with a masonry blade to score the cut lines, then chisel out the brick within the outline. This is the most labor-intensive exterior type.
- For stucco: Score with a masonry blade, then carefully remove stucco and wire lath within the outline.
- Cut through the exterior sheathing (plywood or OSB) with a reciprocating saw.
Step 6: Install the Tunnel System
 |
|
Step 7: Mount Interior & Exterior Frames
- Apply a bead of exterior-grade silicone caulk around the exterior wall opening.
- Press the exterior frame against the wall over the tunnel end. Secure with provided screws.
- From inside, attach the interior frame (if it's not already riveted to the tunnel like with the MaxSeal PRO and MaxSeal Wall Mount Pet Door) to the other tunnel end. Secure with provided screws.
- Apply a final bead of caulk around all exterior frame edges. Smooth with a wet finger. Use clear caulk if possible.
Step 8: Finish, Seal & Test
- On the exterior, touch up paint or siding trim around the frame (if there is any chipping. Adding tape around the exterior rough cut reduces chipping, and the overall frame should cover most imperfections).
- Install the pet door flap(s) and security panel (in some models, if it's not already installed)
- Test the flap for free swing in both directions.
- Check for daylight or air leaks around the frame. Caulk any gaps.
- Train your pet to use the new door with treats and positive reinforcement.
💡 Tips & Tricks
- Drill pilot holes first: Always transfer your interior cut lines to the exterior using pilot holes at each corner. This guarantees alignment through the wall.
- Brick walls – score deeply: When cutting brick, score all the way around with an angle grinder before chiseling. Deep scores give you clean break lines.
- Check for fire blocking: Some walls have horizontal fire blocks between studs. You'll need to cut through these – a reciprocating saw handles them easily.
- Protect your yard: Lay a tarp or drop cloth on the exterior side before cutting. Catching debris is much easier than cleaning it from landscaping.
- Take photos before closing up: Photograph the interior of the wall (wiring, plumbing, framing) before installing the tunnel. This documentation is valuable for future work.
- Consider adding a step outside: If the exterior ground is lower than the interior floor, build a small landing step or ramp outside the pet door for easy pet access.
⚠️ Common Mistakes to Avoid
- Cutting through a stud: Never cut a wall stud without proper reframing. Removing a stud without reinforcement weakens the wall structure.
- Ignoring utility lines: Hitting an electrical wire or plumbing pipe is dangerous, expensive, and avoidable. Always scan the wall thoroughly.
- Skipping the exterior seal: Water intrusion through an improperly sealed wall pet door causes mold, rot, and structural damage. Seal every edge meticulously.
- Not framing the opening: Without header and sill blocks, the tunnel has nothing solid to anchor to. Always frame the rough opening.
- Misaligned interior/exterior cuts: If the interior and exterior openings don't align, the tunnel won't sit straight. Pilot holes at each corner prevent this.
When to Call a Professional
Through-wall installations are the most complex DIY pet door project. Call a professional if:
- Your wall is solid masonry (concrete block, poured concrete, or double-brick)
- You can't confidently identify wiring, plumbing, or HVAC runs inside the wall
- The wall is load-bearing and requires structural reframing
- Your exterior is brick or stone veneer and you don't have masonry cutting experience
- The wall thickness exceeds the pet door's maximum tunnel length
- You want a guaranteed weatherproof, code-compliant installation
Portal Pros specializes in through-wall pet door installations nationwide.
📞 Call 855-DOG-DOOR for a free estimate.
🛒 Shop Wall-Mount Pet Doors • 📅 Book Professional Installation
Request a Free Wall Dog Door Installation Quote
Fill out the form below and a Portal Pros representative will get back to you promptly.